Using a makeup sponge effectively can transform your makeup routine, providing a flawless finish and smooth application. The main goal is to ensure an even distribution of makeup products across your skin, enhancing your natural beauty. In this article, we will explore the correct techniques, tips, and tricks for using a makeup sponge.
Choosing The Right Makeup Sponge

Before diving into the actual usage, it’s crucial to select the right makeup sponge. Makeup sponges come in various shapes, sizes, and textures, each suited for different purposes. For example, the teardrop-shaped sponge is versatile, ideal for both detailed and broad applications. If you’re applying foundation, opt for a denser sponge. For contouring, a smaller, more precise sponge works best. Investing in a high-quality makeup sponge can make all the difference in your overall makeup application.
Prepping Your Makeup Sponge
Preparing your makeup sponge properly is an essential step. A common mistake is using a dry sponge which tends to absorb too much product, leading to waste and uneven application. To prep your sponge:
- Wet the sponge under lukewarm water until it’s fully saturated.
- Squeeze out the excess water. The sponge should be damp, not drenched.
- Wrap the sponge in a clean towel and give it another squeeze to remove any remaining excess water.
Now, your sponge is primed and ready to give you the best possible results.
Applying Foundation
Using a makeup sponge to apply foundation ensures a smooth, natural-looking finish. Follow these steps for flawless application:
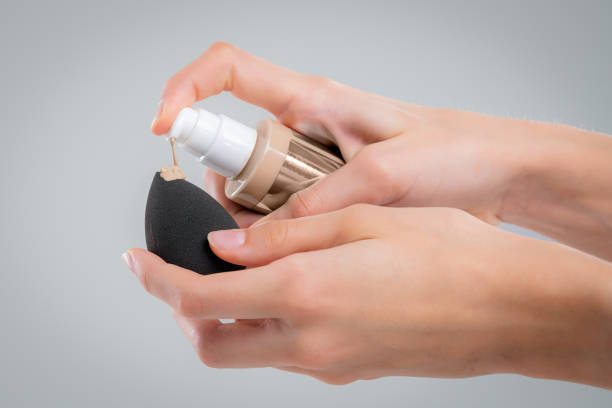
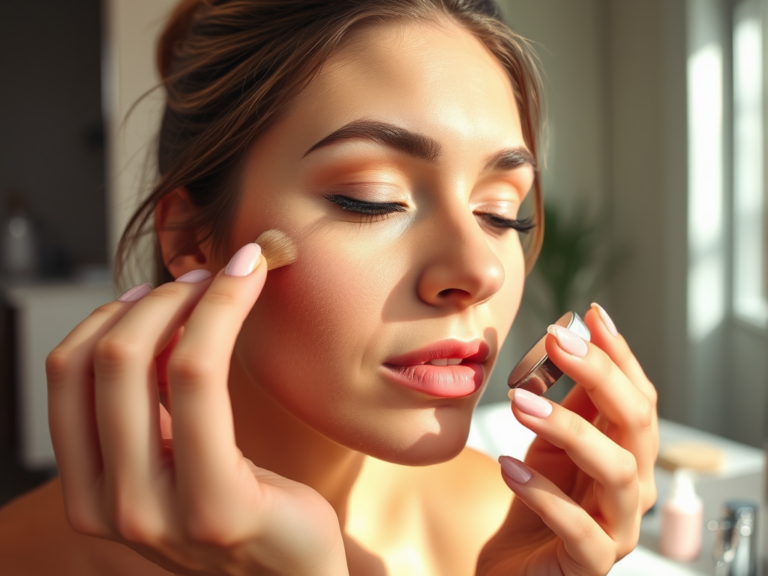
First, dab a small amount of foundation onto the back of your hand. Use the broad end of the damp sponge to pick up a bit of the product. Begin by tapping the sponge lightly onto your skin, starting from the center of your face and blending outward. The key is to use a dabbing motion, not dragging, to seamlessly blend the product without streaks. Build up coverage where needed instead of applying too much product at once.
Concealing and Contouring
A makeup sponge excels in blending concealer and contour products. For concealing, use the pointed end of the sponge to precisely apply and blend the product under your eyes and on blemishes. This technique ensures that the product doesn’t settle into fine lines or imperfections.
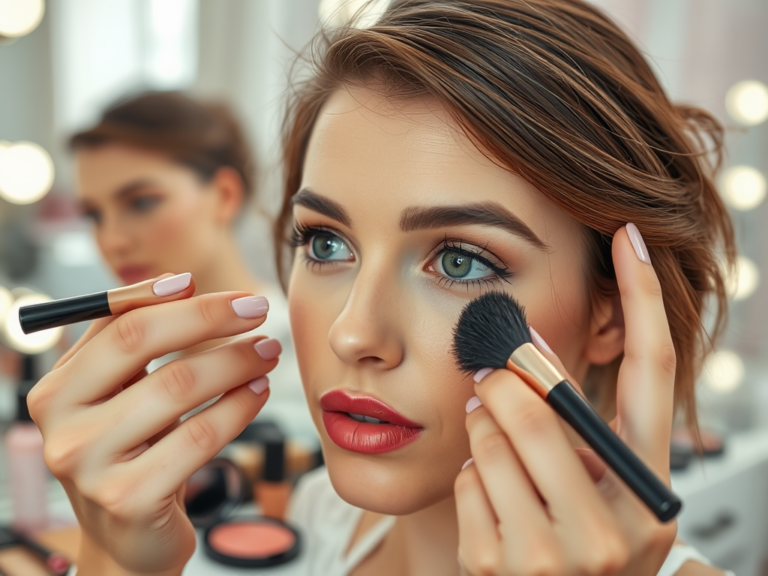
When contouring, use the sponge to blend both cream and powder products. Apply your contour product on the desired areas such as the hollows of your cheeks, jawline, and forehead. Using the angled side of the sponge, blend the contour with the same dabbing motion to ensure a natural finish.
Setting With Powder
Setting your makeup with powder can help it last longer and reduce shine. Use your damp makeup sponge to apply setting powder for best results. Gently press the sponge into the powder and then pat it onto your skin, focusing on areas that tend to get oily, like the T-zone. This method helps lock your foundation in place and gives your skin a matte finish. Remember to use a light hand to avoid a cakey appearance.
Cleaning and Maintaining Your Sponge
Regular cleaning of your makeup sponge is essential to prevent bacteria build-up and ensure its longevity. Ideally, wash your sponge after each use or at least once a week. Follow these steps to clean your sponge effectively:
- Use a gentle cleanser or a sponge-specific cleaner.
- Create a lather and massage it into the sponge, focusing on any stained areas.
- Rinse thoroughly under lukewarm water until it runs clear.
- Squeeze out excess water and allow the sponge to air dry in a well-ventilated area.
By maintaining your sponge, you ensure cleaner applications and extend its usability.
Conclusion
Mastering the use of a makeup sponge can elevate your makeup game, providing a seamless, professional finish. Start by choosing the right sponge and prepping it properly, follow through with effective application techniques, and always remember to clean and maintain your sponge. By doing so, you’ll not only enhance your makeup routine but also ensure healthier skin.
FAQs
1. How often should I replace my makeup sponge?
Replace your makeup sponge every 1-3 months, depending on how often you use it and how well you maintain it.
2. Can I use a makeup sponge for liquids and powders?
Yes, makeup sponges are versatile and can be used for both liquid and powder products, including foundation, concealer, and setting powder.
3. Can I use a dry sponge for application?
It is not recommended to use a dry sponge as it can absorb too much product and lead to uneven application. Always use a damp sponge for best results.
4. What should I do if my makeup sponge starts to smell?
If your makeup sponge starts to smell, it is likely due to bacteria buildup. Clean it thoroughly following the steps mentioned or replace it if the smell persists.
5. Are there any makeup products that I shouldn’t use with a sponge?
Avoid using heavy cream products or oil-based products with a sponge, as they can be difficult to clean and may shorten the life of your sponge.


